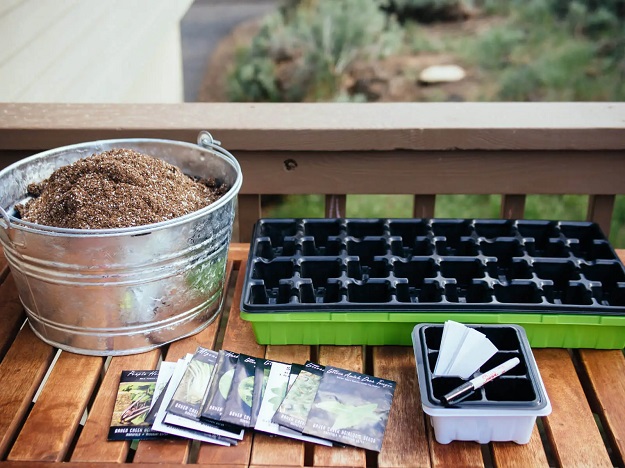
Boost your success, save money, and reduce plastic waste when starting plants from seeds this year. The options are many, so you are sure to find one that works for you. This article does a great job of explaining the entire seed starting process and even how to save seeds for the following year.
Reuse plastic containers for starting plants from seeds. Disinfect the pots, flats, and cell packs before planting to avoid problems with damping off and other diseases. Soak the containers in a solution of one part bleach to nine parts water for ten minutes, and then rinse with clear water to make them safe for starting seeds.
Biodegradable pots are another option. They have been around for many years, eliminating plastic and reducing transplant shock. Just plant the container along with the seedling when moving plants into the garden. You will find degradable pots made from a variety of materials.
Organic gardeners may want to use biodegradable pots made from sustainably grown wood fiber. These contain no glue or binders and are Organic Materials Review Institute (OMRI) listed. Cow pots are not currently OMRI listed but are made from odor-free composted cow manure and an alternative to plastic and peat. These are biodegradable and add nutrients and organic matter to the soil at planting.
Replace plastic seed starting cell packs with Honeycomb Paper pots. This 50-cell interlocking paper seed starter expands to fill a flat for easy planting. Roots expand through the open bottom and the cells easily separate, making it easy to move transplants into the garden. Once in the garden, the paper liners decompose.
Invest once and use the dishwasher-safe Sili-Seedlings Seeding Tray for years of seed starting. These durable and reusable seed trays are made of BPA-free food-grade silicone. The flexible cells allow you to easily pop seedlings out without pulling and tugging. After the transplants are removed, rinse off any remaining soil and place in the dishwasher so the trays are ready to use for future plantings.
Skip the pots and avoid transplant shock by using a soil blocker to create an endless supply of soil blocks for planting. Just moisten the potting mix, preferably one with a high percent of organic matter, to help the blocks hold their shape. Press the soil block maker into the moistened potting mix and rock back and forth to fill. Then place the blocks on a clean seed tray. Once planted, water from the bottom to avoid disturbing the soil block.
Look for ways to repurpose any remaining plastic containers. Use smaller containers to apply fertilizer, animal repellents or other granular material. Just scoop and shake to distribute the fertilizer over the garden bed.
Cover plants with empty pots when applying mulch to garden beds. Spread the mulch then lift the pot when the job is finished. Use them for double potting. Grow your plant in an old nursery pot and set it inside a decorative pot that lacks drainage. These cold-frame greenhouses are great for the gardener that wants to move their seedlings outside before the last possible frost date.
Some nurseries are asking customers to return plastic containers and flats for their use. Other plant retailers have an area set aside for customers to return plastic pots for other customers to use or for recycling.
Sustainable gardening starts with products used for starting seeds. Continue the trend throughout the growing season by conserving water, repurposing leaves into mulch and recycling plant trimmings into valuable compost.
Melinda Myers has written more than 20 gardening books, including Small Space Gardening. She hosts the “How to Grow Anything” DVD series and the Melinda’s Garden Moment TV & radio segments. Her website is MelindaMyers.com.
Related Articles & Free Vermont Maturity Subscription

Stretching the Growing Season with a Greenhouse
Tips for Raised Bed and Elevated Gardening Success


Comment here